Where Ideas
Take Shape
Where creativity meets clarity, and vision meets action.
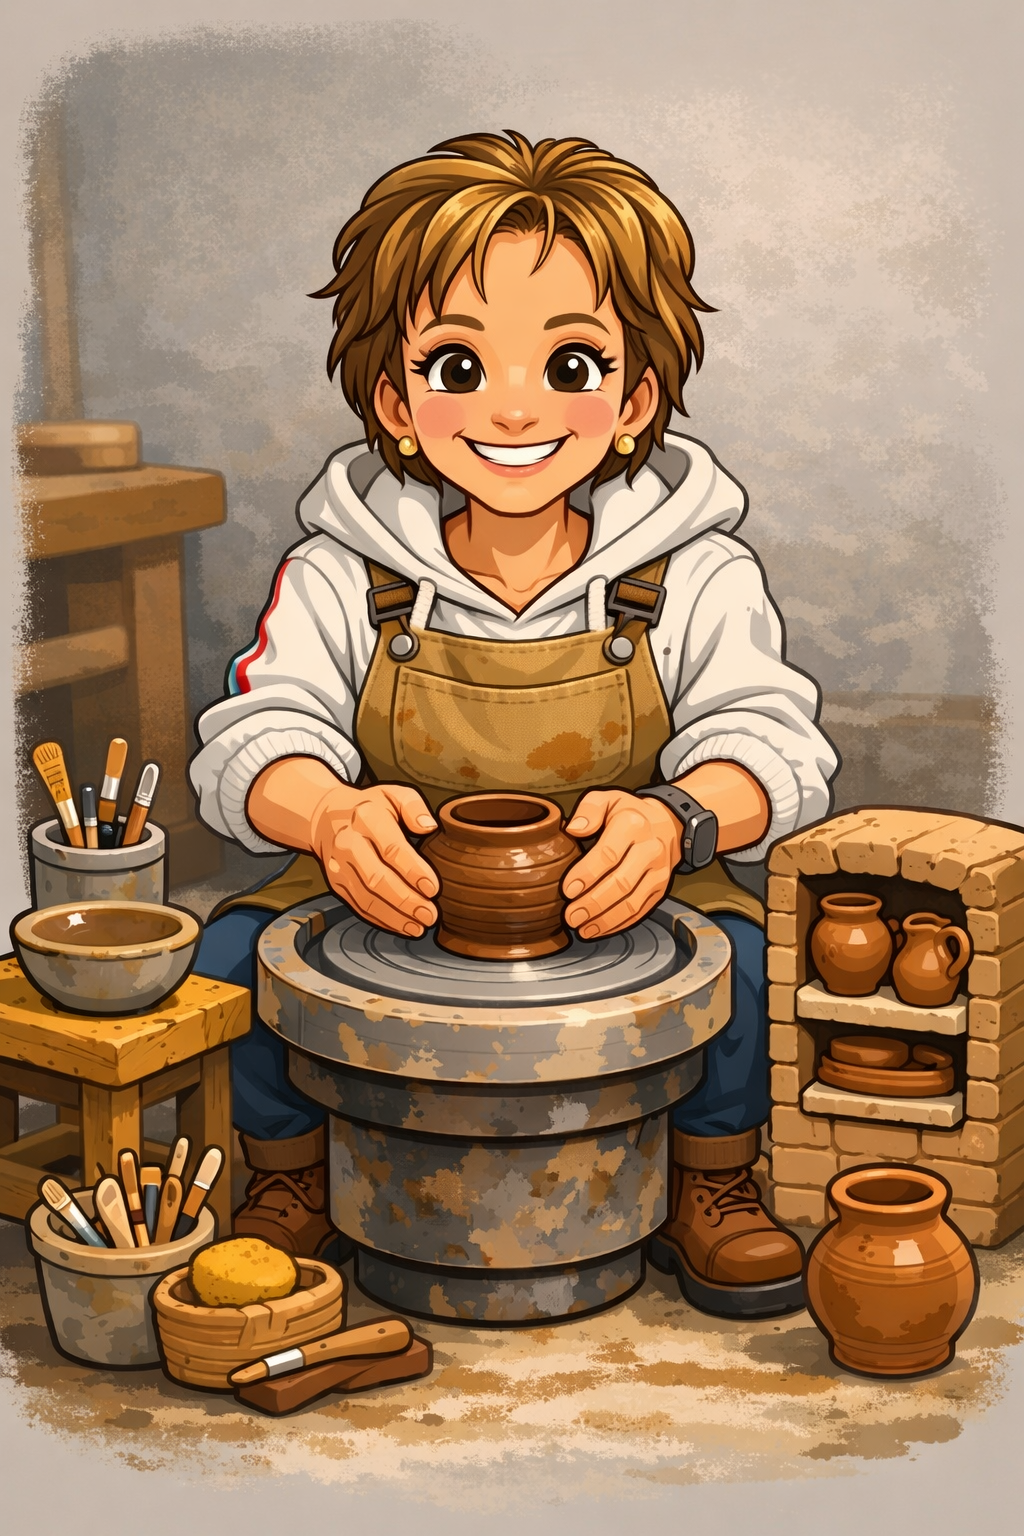
In the pottery there are many stages of development starting with intention, with passion, and with people at the center of it all. Every detail here reflects that mindset.
Making a wheel-thrown pottery mug is a multi-step process that combines technique, timing, and craftsmanship. Here’s a clear walkthrough from raw clay to finished mug. At any phase of this process there can be a mistake that ruins the whole Mug.
1. Preparing the Clay
The potter begins by “wedging” the clay — kneading it to remove air bubbles and create an even consistency. This helps prevent cracking or explosions in the kiln.
Centering the Clay on the Wheel
A lump of clay is slapped onto the spinning pottery wheel. With wet hands and steady pressure, the potter centers the clay so it spins evenly. Centering is one of the hardest skills for beginners because any wobble affects the entire piece.
3. Opening and Pulling the Walls
The potter presses thumbs into the middle to open the clay, forming the interior cavity. Then, using fingers inside and outside the form, the walls are slowly “pulled” upward while the wheel spins. Multiple pulls thin and raise the clay into the shape of a mug.
4. Shaping the Mug
Once the basic cylinder is formed, the potter refines the shape:
straightening the sides,
curving the body,
compressing the rim,
and smoothing the surface with ribs or sponges.
The base is trimmed slightly while still on the wheel, and excess clay is removed with a wire tool.
5. Drying to Leather Hard
The mug is left to dry until “leather hard,” meaning it is firm but still carvable. At this stage:
the bottom may be trimmed on the wheel,
decorative carving can be added,
drawing and preparing the mug for underglaze work
and the handle is attached.
6. Bisque Firing
After fully drying, the mug goes into a kiln for its first firing, called the “bisque firing.” This transforms the fragile dry clay into hard, porous ceramic.
Typical bisque temperatures are around 1,800°F–1,950°F (about 980°C–1060°C).
7. Glazing and Painting
The bisque-fired mug is dipped, poured, or brushed with glaze. Glaze contains minerals and glass-forming materials that melt during firing to create the final color and surface finish.
It can also be painted with underglazes which can produce artisanal art work on the mug.
8. Final Glaze Firing
The mug returns to the kiln for the glaze firing, often between 2,200°F–2,400°F depending on the clay and glaze type. During this firing:
the clay vitrifies and becomes durable,
the glaze melts into a glass-like coating,
and the final colors emerge.
9. Finished Mug
After cooling, the mug is sanded if needed and inspected for cracks or glaze flaws. The final piece is a functional handmade object with slight variations that make it unique.